Extract EMLF Results via Jupyter
-
How do we extract EMLF results via Jupyter? I'd specifically like to know if there is a way to generate images of slice viewers via the API. I can see how to extract the data cache from an analysis, but I cannot seem to access results contained within the data cache, and I cannot find any documentation that supports how to do this.
For context, I am running custom parameter sweeps via Jupyter. Every time we begin a new EMLF simulation with new settings, it deletes the results from the previous simulation. Automating the data extraction process is thereby very important for programmatic analysis downstream.
-
To learn how to do this using the Python API, the most straightforward approach is to run the simulation, set up the analysis pipeline, and select, e.g., the slice field viewer and run the "To Python (selected)". This will generate the script and open it in the "Scripter" window.
You can then edit and copy this code to a cell in your notebook.
Many of the Jupyter notebook tutorials under Help -> Examples will run a simulation and extract results. Consider browsing through these to find examples most similar to your needs.
-
Thanks @bryn, I had not seen the s4l.renderer package, it was somewhat hidden in the API browser.
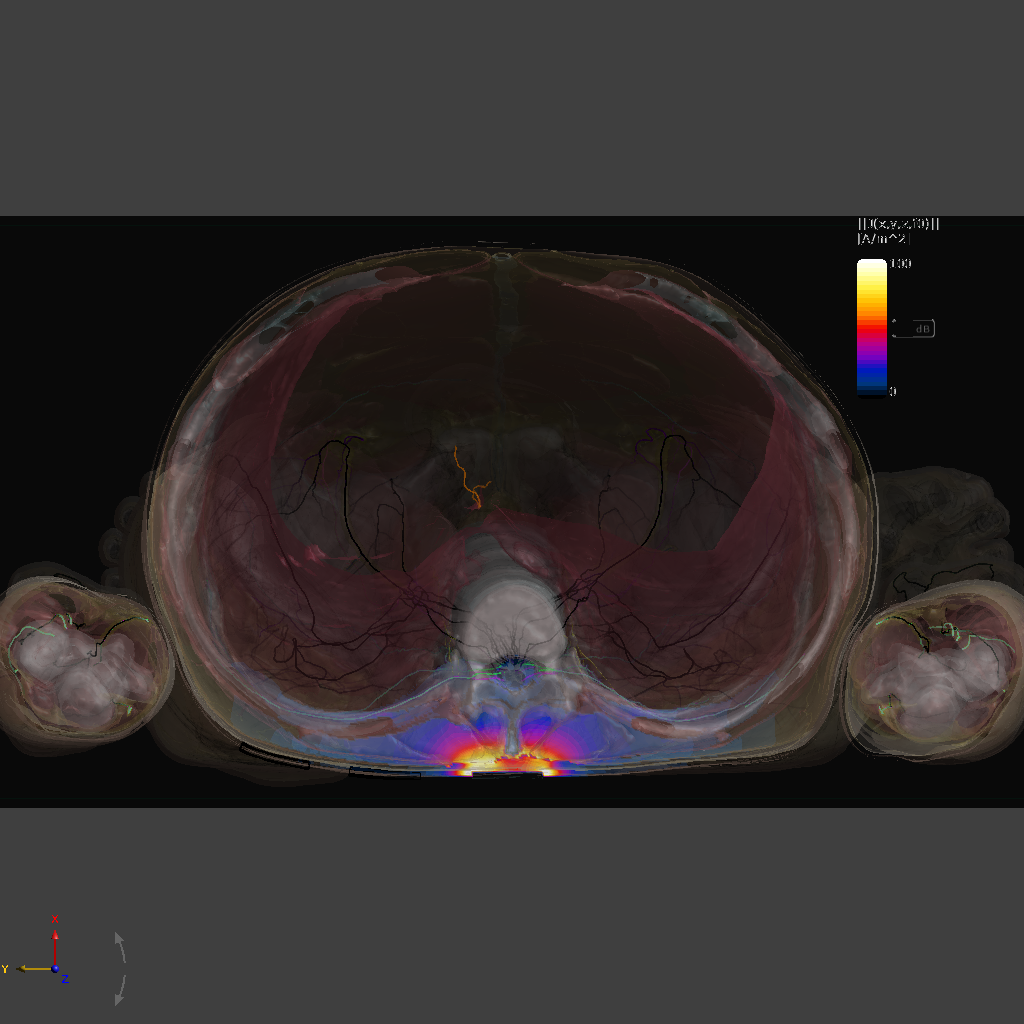
One question; is it possible to rotate a view with the API? I've been using renderer.SetViewDirection(Vec3(0, 0, -1)) to get a topdown view of my model, but I'd like to flip the view 90 degrees to the left before rendering an image.This is what I'm after:
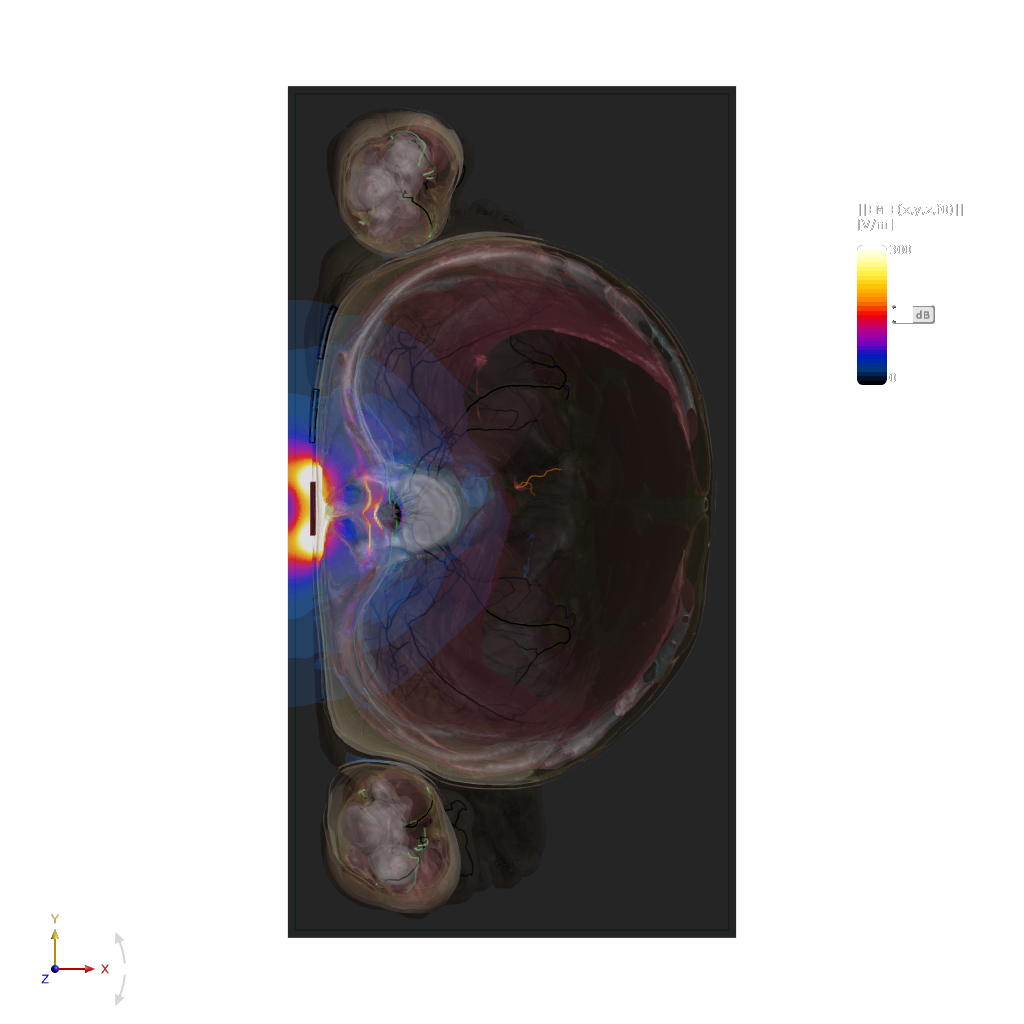
This is what I'm getting:
-
Good question. The rotation of the camera around the view direction is not so easy to specify in the API.
I can suggest the following workaround, in your target image the 'right' direction is negative
Ycam = XRenderer.CameraSettings() # create a camera cam.Distance = 100 # instead, you could zoom to the bounding box, as shown in the Jupyter notebook examples cam.SetViewDirection(Vec3(0,0,-1), Vec3(0,-1,0)) # specify view direction and 'right' direction XRenderer.RestoreCamera(cam) # tell the GUI to use these camera settings -
Cache files are not documented and are not intended as a format for data exchange. They are useful in Sim4Life to cache results and reload without re-running a full pipeline.
Instead, I would use a different open format, like VTK (so-called legacy .vtk) or one of its XML variants (.vtr for rectilinear grids, .vtu for unstructured, .vtp for surfaces/lines). You can also obtain the data as numpy arrays and store it using a Python script, such as saving it as numpy, JSON, MATLAB, or some other file format, etc.
If there is a different "results format" (grid + field distribution) you would love us to support, let us know, e.g., by posting in this chat. -
Good question. The rotation of the camera around the view direction is not so easy to specify in the API.
I can suggest the following workaround, in your target image the 'right' direction is negative
Ycam = XRenderer.CameraSettings() # create a camera cam.Distance = 100 # instead, you could zoom to the bounding box, as shown in the Jupyter notebook examples cam.SetViewDirection(Vec3(0,0,-1), Vec3(0,-1,0)) # specify view direction and 'right' direction XRenderer.RestoreCamera(cam) # tell the GUI to use these camera settings@bryn Actually I'm still having a bit of an issue with this. XRenderer.RestoreCamera does not update the GUI until end of execution, in both the scripter and via Jupyter. I'm trying to use the cam to determine orientation and then the renderer to zoom to my bounding box, but if the camera angle has been changed elsewhere, the cam won't be restored before zooming. Is there any way to force the GUI to update its view with RestoreCam before executing the zoom?
I know this is quite particular. Once again, the goal is to automatically generate screengrabs of viewers from multiple angles while running parameter sweeps. If there is no way to get exactly what I want then I'll try to simplify the goal, but it's so close to exactly what I'm trying to do and so I figure there must be a way. Thanks.
my code:
cam = XRenderer.CameraSettings() # create a camera
entity__simulation_boundary = model.AllEntities()["Simulation Boundary"]
cam.SetViewDirection(Vec3(0,0,-1), Vec3(0,-1,0))
XRenderer.RestoreCamera(cam)
renderer.ZoomToEntity(entity__simulation_boundary,1)(again the above only works consistently if RestoreCam is executed first, and then ZoomToEntity. I've tried adding a time.sleep(0.1) in between the statements, but to no avail)
-
The
RestoreCamerafunction has a second argumentanimate=True. Setting this toFalseshould fix your issue.If you are using
s4l_v1.renderer.SaveScreenCaptureto save an image of the scene in your script, you might need to give the GUI a chance to refresh during script execution. On Windows, you can do this withwin32gui.PumpWaitingMessages()I typically do something like this
def refresh_gui() if sys.platform == "win32": import win32gui win32gui.PumpWaitingMessages() for config in all_configurations: # change the model, run a simulation, change camera settings, etc. do_something(config) refresh_gui() s4l_v1.renderer.SaveScreenCapture( width=1024, height=1024, multi_sample=True, transparent_background=True, output_folder="C\temp\screenshots" output_prefix=f"subcase_{config}" ) -
Cache files are not documented and are not intended as a format for data exchange. They are useful in Sim4Life to cache results and reload without re-running a full pipeline.
Instead, I would use a different open format, like VTK (so-called legacy .vtk) or one of its XML variants (.vtr for rectilinear grids, .vtu for unstructured, .vtp for surfaces/lines). You can also obtain the data as numpy arrays and store it using a Python script, such as saving it as numpy, JSON, MATLAB, or some other file format, etc.
If there is a different "results format" (grid + field distribution) you would love us to support, let us know, e.g., by posting in this chat.@bryn Excuse me for butting in.
Nice to meet you. I’m currently a graduate student conducting research on temperature distribution in liver tumors with respiratory motion using Sim4Life.
Could you please share some code that uses Python scripts to output the analysis results of temperature distributions after running the simulation?
Hello! It looks like you're interested in this conversation, but you don't have an account yet.
Getting fed up of having to scroll through the same posts each visit? When you register for an account, you'll always come back to exactly where you were before, and choose to be notified of new replies (either via email, or push notification). You'll also be able to save bookmarks and upvote posts to show your appreciation to other community members.
With your input, this post could be even better 💗
Register Login