Skip to content
  • Search
Skins
  • Light
  • Cerulean
  • Cosmo
  • Flatly
  • Journal
  • Litera
  • Lumen
  • Lux
  • Materia
  • Minty
  • Morph
  • Pulse
  • Sandstone
  • Simplex
  • Sketchy
  • Spacelab
  • United
  • Yeti
  • Zephyr
  • Dark
  • Cyborg
  • Darkly
  • Quartz
  • Slate
  • Solar
  • Superhero
  • Vapor

  • Default (No Skin)
  • No Skin
Collapse

ZMT zurich med tech

  1. Home
  2. Sim4Life
  3. Analysis & Postprocessing
  4. How do we put electrodes on the skin surface?

How do we put electrodes on the skin surface?

Scheduled Pinned Locked Moved Analysis & Postprocessing
16 Posts 4 Posters 895 Views 4 Watching
  • Oldest to Newest
  • Newest to Oldest
  • Most Votes
Reply
  • Reply as topic
Log in to reply
This topic has been deleted. Only users with topic management privileges can see it.
  • G Offline
    G Offline
    gotou
    wrote on last edited by
    #4

    @halder
    Thank you for your reply.

    I read in the Sim4Life manual that a module needs to be purchased for remeshing. Since this option is not available in this image, does this mean that the module has not been purchased yet?

    saimessyu.png

    1 Reply Last reply
    0
    • brynB Offline
      brynB Offline
      bryn
      ZMT
      wrote on last edited by
      #5

      You can achieve the same thing without the remesh tool.

      Option 1

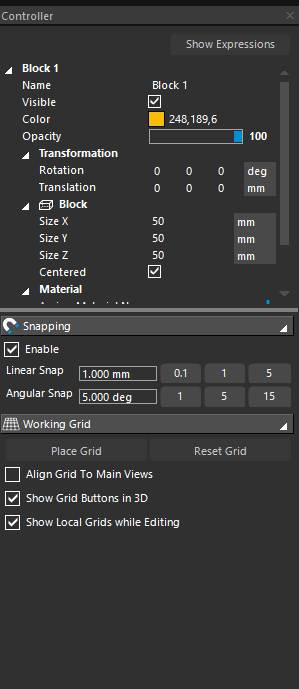
      • before converting the brick (electrode) into a mesh, set the faceting settings (Mesh Tools -> Faceting) to increase the triangle resolution (e.g. 1-5mm). You cannot bend a single triangle: to approximate a curved surface the mesh needs to be refined somewhat

      Option 2

      • if you already converted the solid body to a triangle mesh, you can use Mesh Tools -> Subdivide -> choose linear subdivision
      1 Reply Last reply
      0
      • G Offline
        G Offline
        gotou
        wrote on last edited by
        #6

        @bryn
        Thank you for your reply.

        I've managed to convert the solid object into a triangle mesh, but I'm having trouble applying the skin surface to it. Could you please guide me on how to proceed from this point?

        If possible, would you be able to provide a step-by-step GIF showing how to apply the skin to the mesh surface? I understand you may be busy, but your help would be greatly appreciated.

        Thank you very much for your time and assistance.

        1 Reply Last reply
        0
        • brynB Offline
          brynB Offline
          bryn
          ZMT
          wrote on last edited by
          #7

          You don't "apply the skin" to something. The process suggested and described with gifs above is to "project" (Surface Projection) some entities (electrodes) onto some surface (e.g. the Skin).

          To activate the tool you need to select the electrodes AND skin (last selected entity) entities.

          1 Reply Last reply
          0
          • brynB Offline
            brynB Offline
            bryn
            ZMT
            wrote on last edited by
            #8

            @gotou here is a video I created some time ago explaining how to project an entity onto the skin. The video creates a 3d text entity, but the same works for a brick.

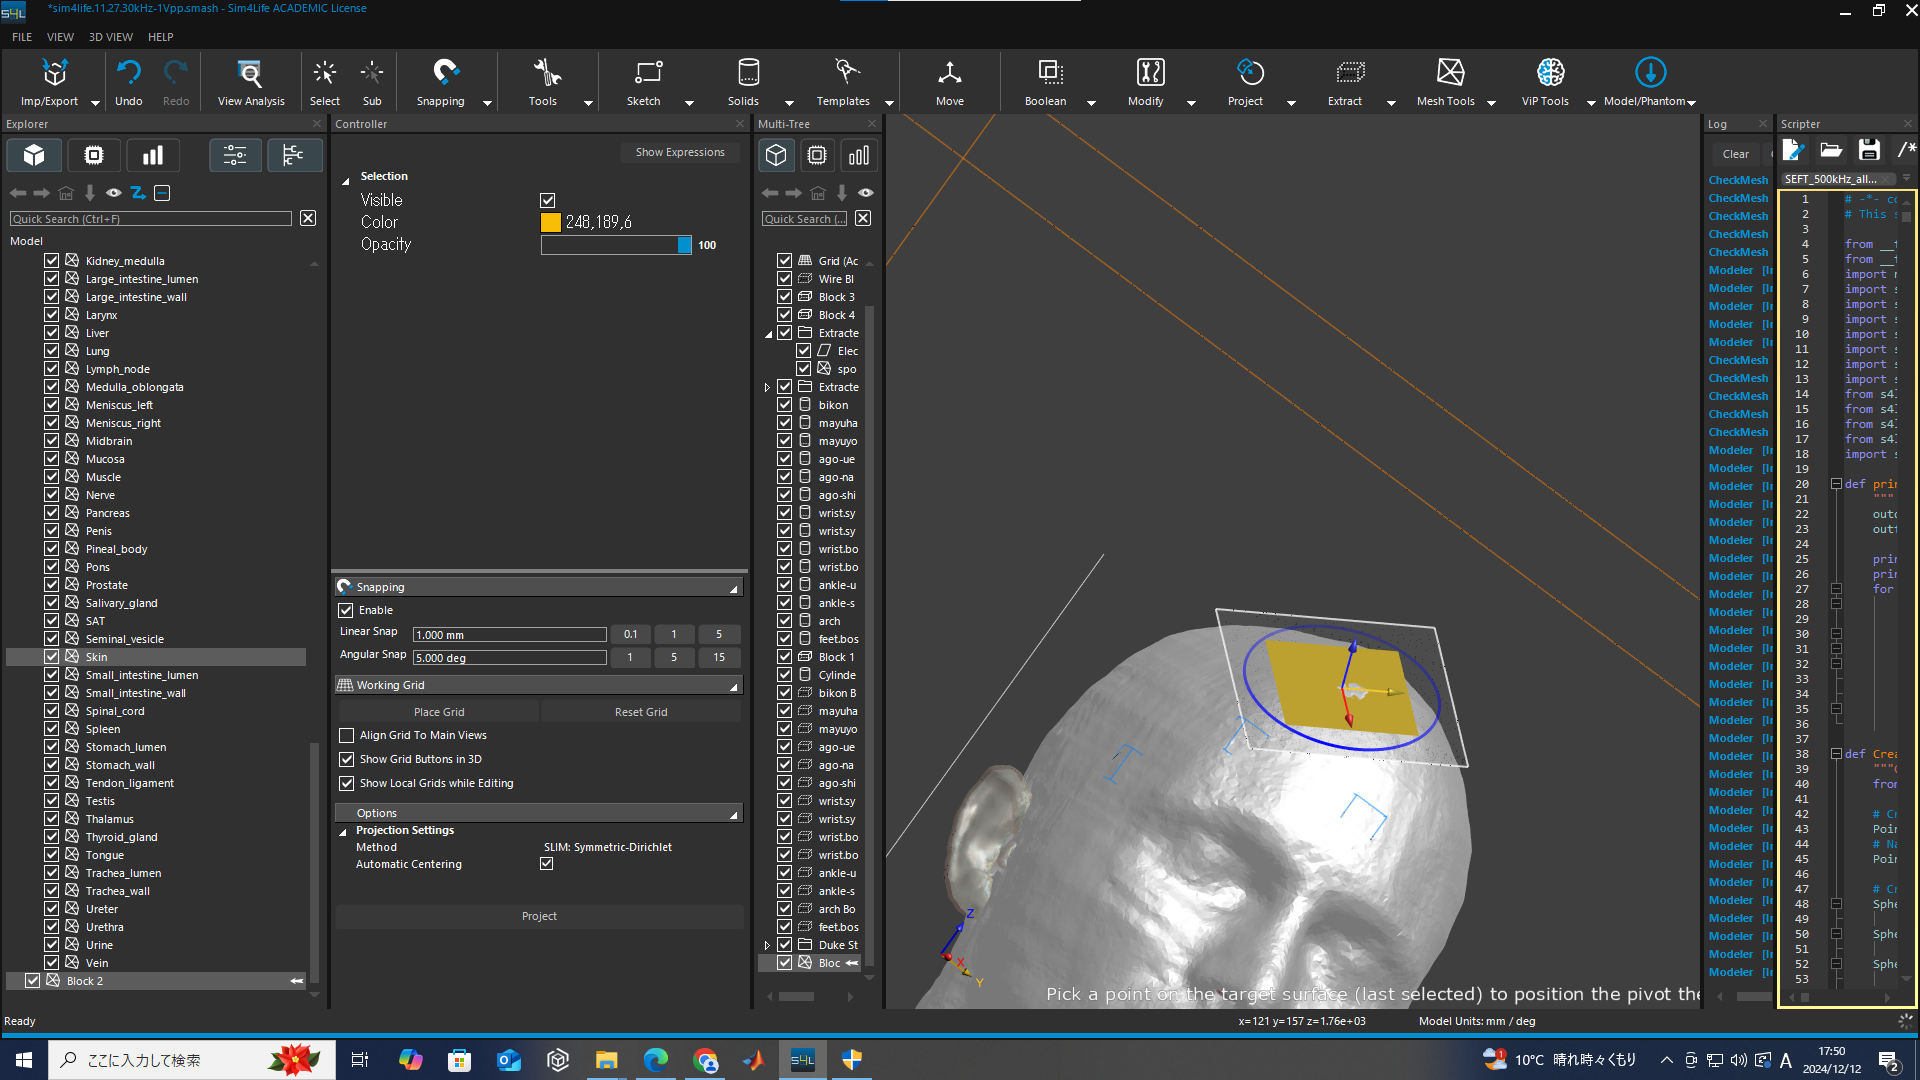
            • create entity in XY plane
            • set faceting settings, e.g. edge length 1-5mm (Mesh Tools -> Edit Faceting)
            • convert to triangle mesh (Mesh Tools -> To Mesh)
            • select entity and Skin
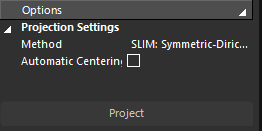
            • start projection tool (Project -> Surface Projection)

            Youtube Video

            1 Reply Last reply
            0
            • G Offline
              G Offline
              gotou
              wrote on last edited by
              #9

              @bryn

              Thank you for your response .

              I followed the steps as shown in the video:

              Create the XY entity
              Set the facets
              Convert to a mesh
              Modify the skin as needed using the Mesh Doctor
              Select the entity, then select the skin
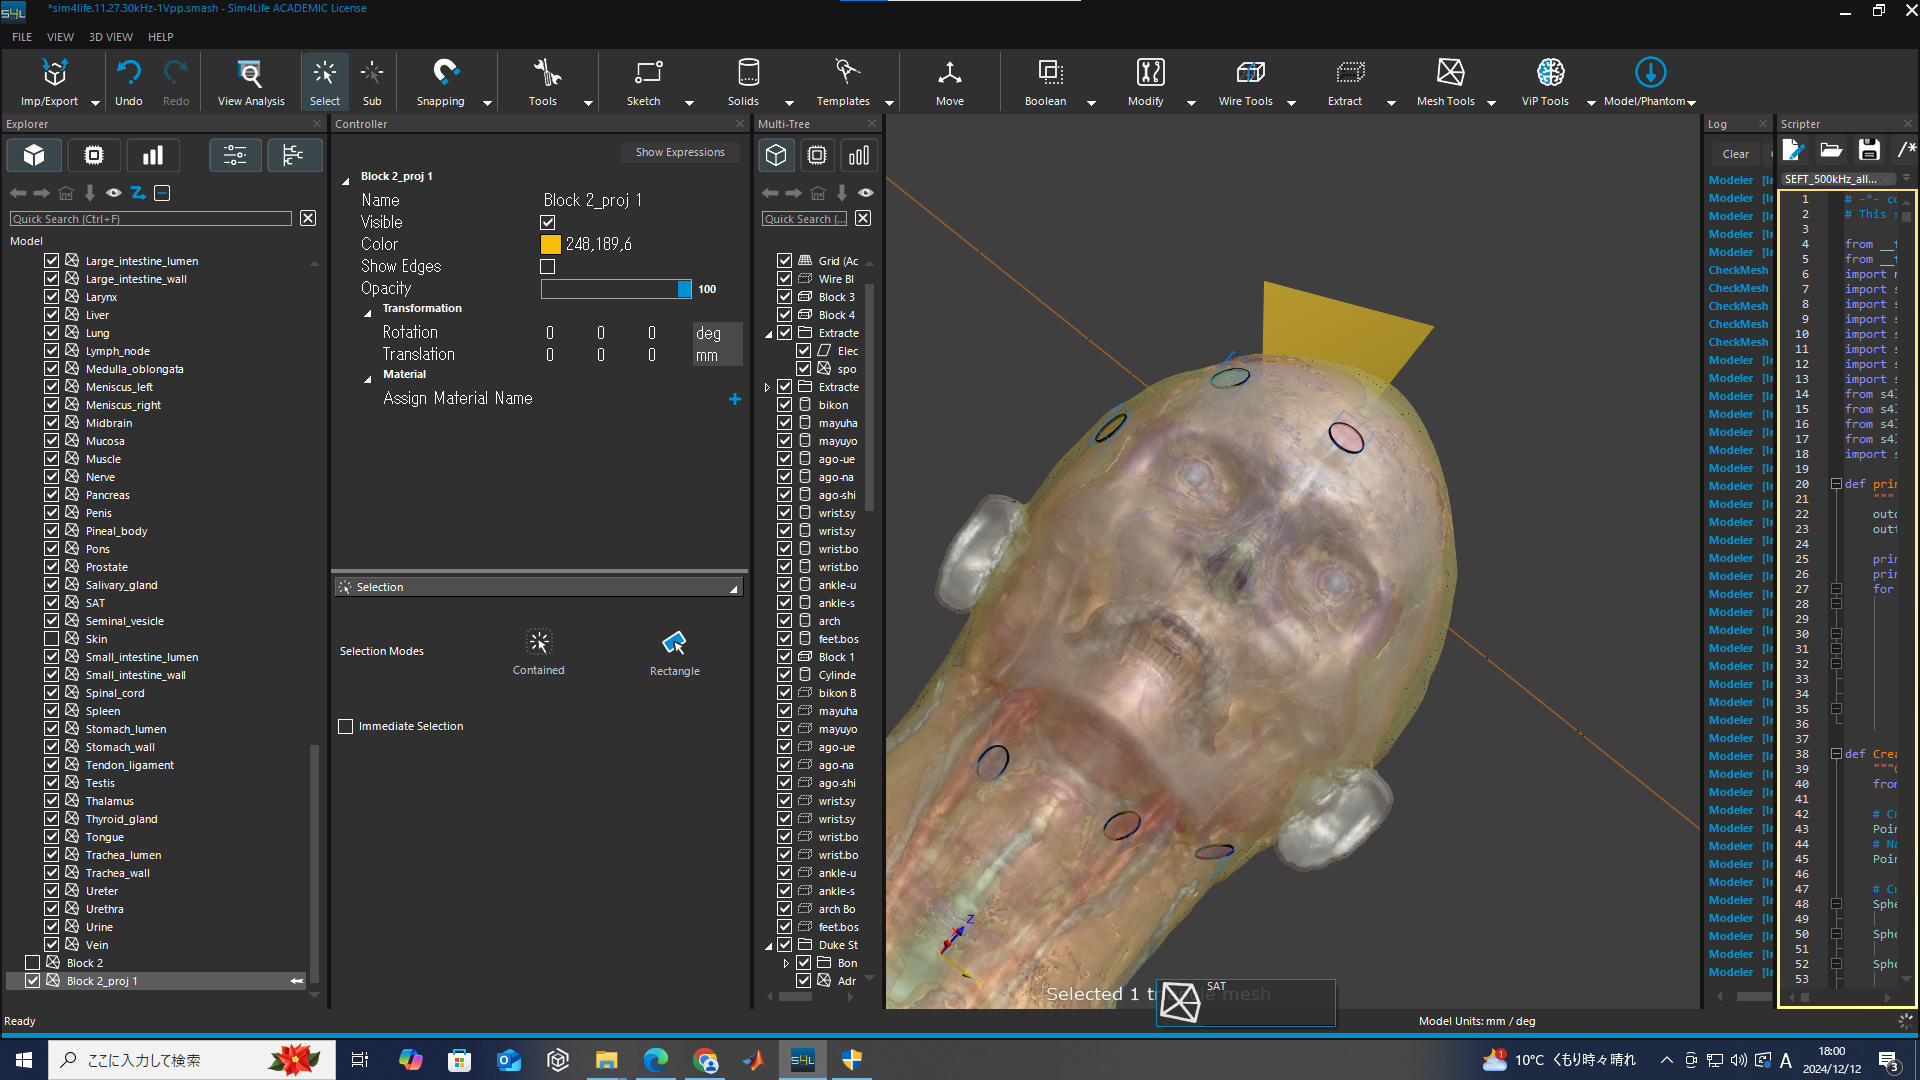
              Perform the projection
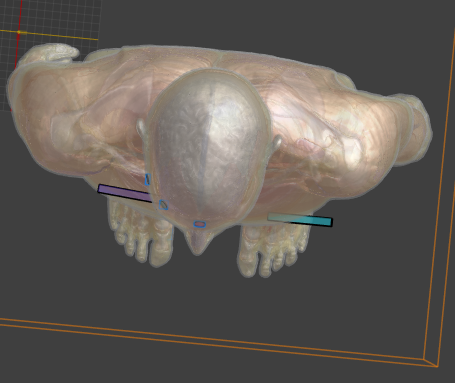
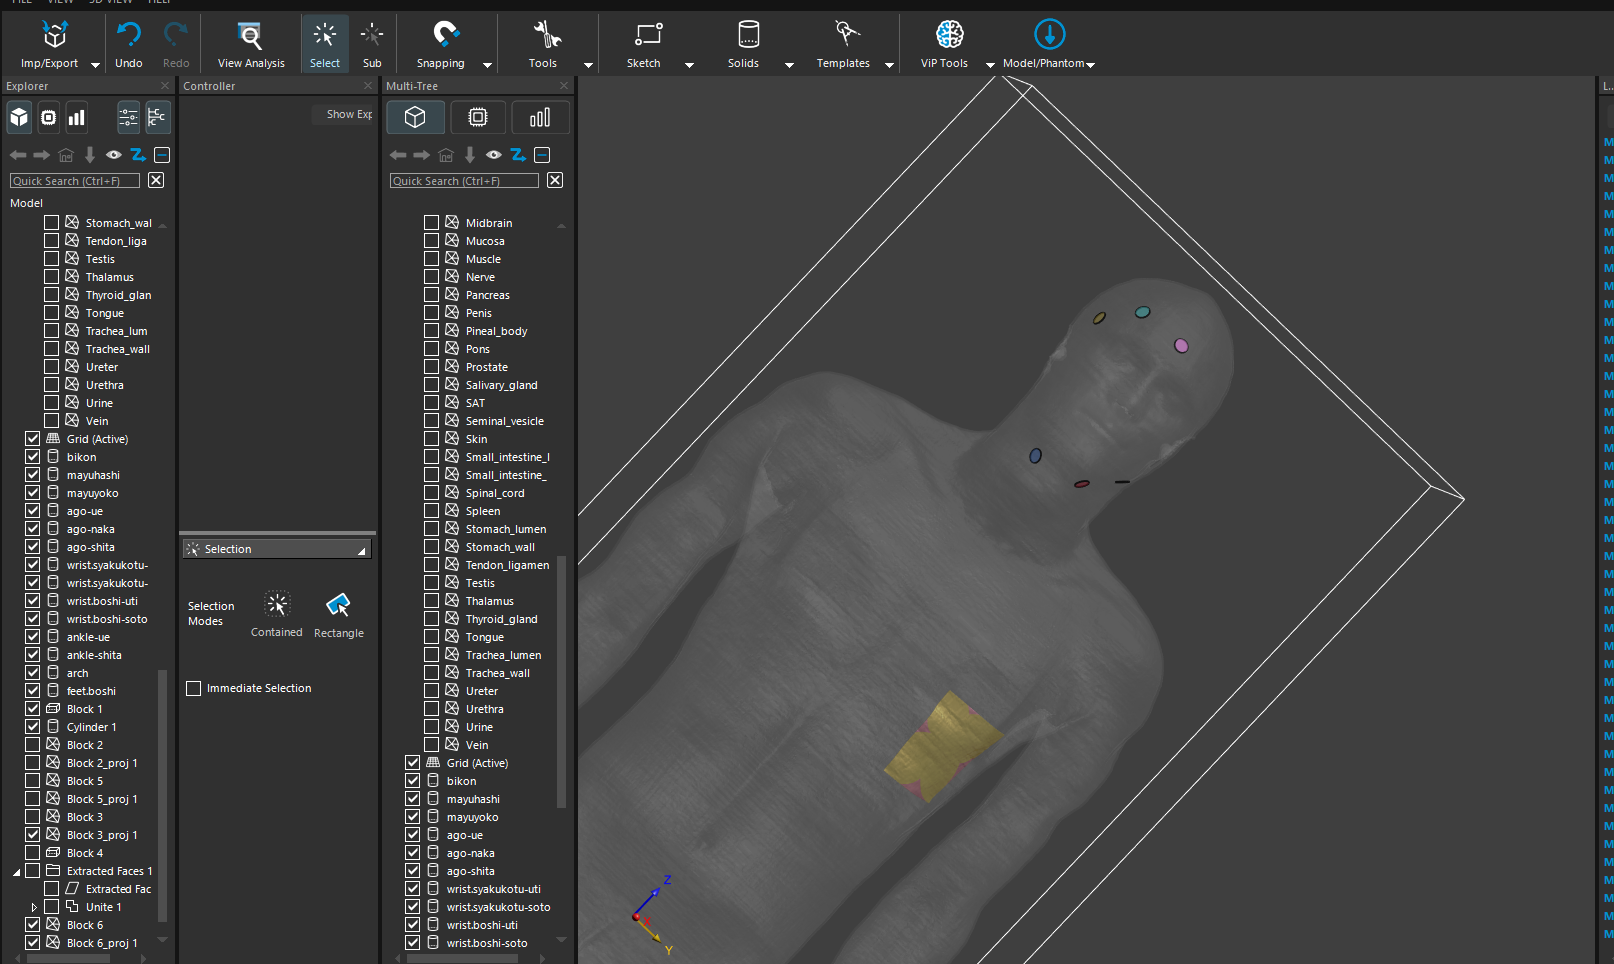
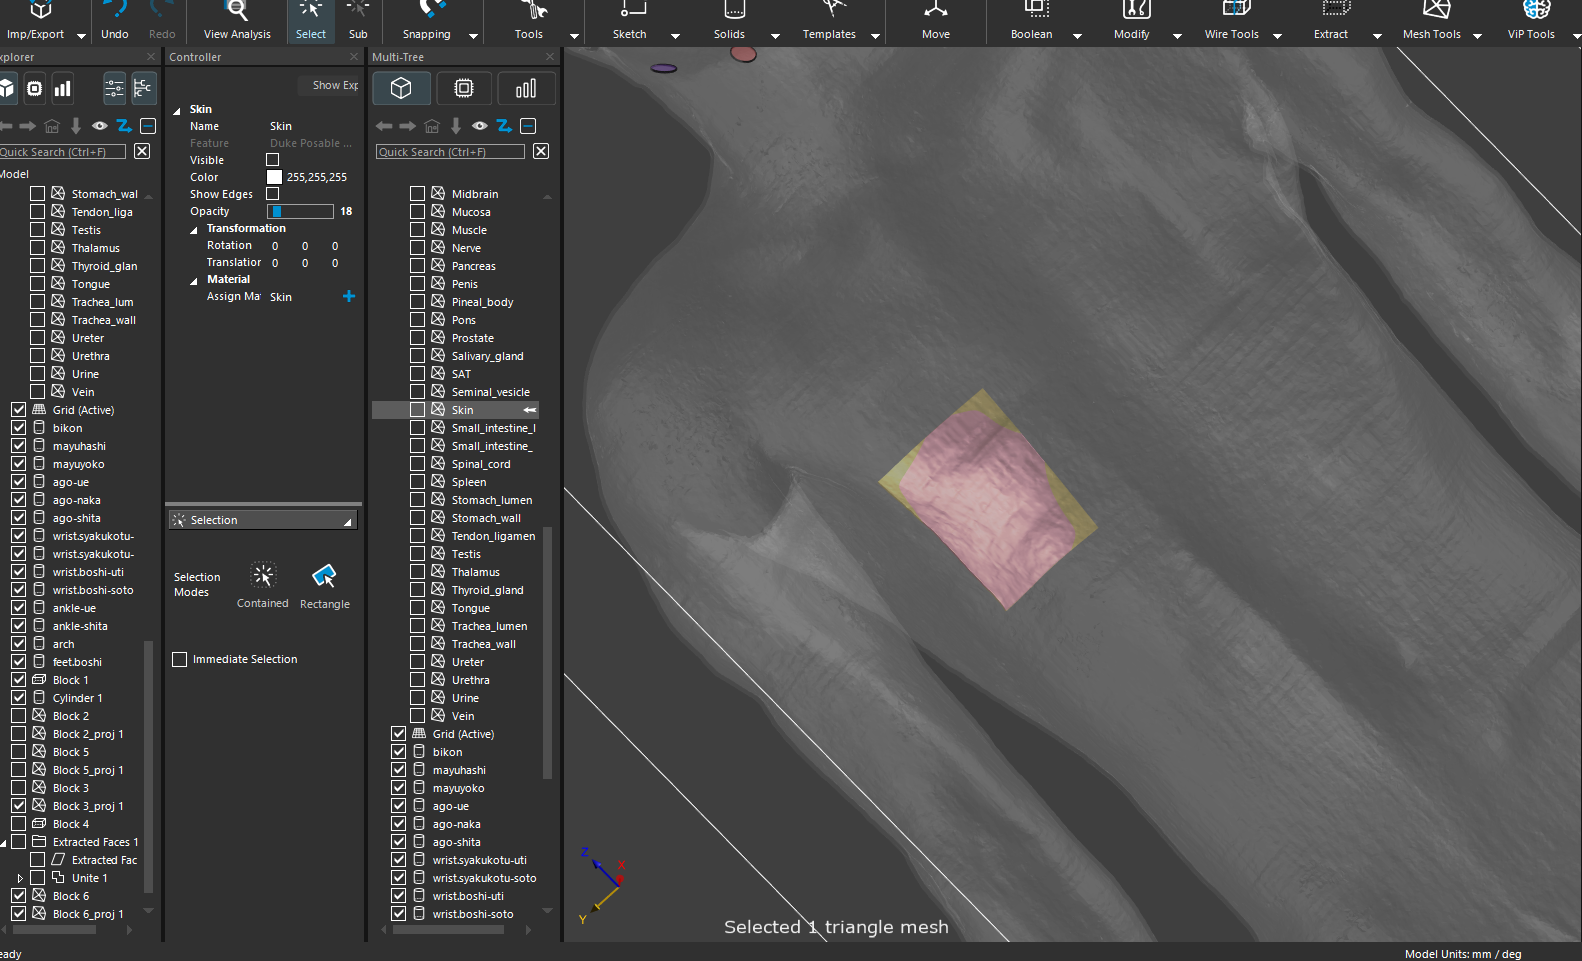
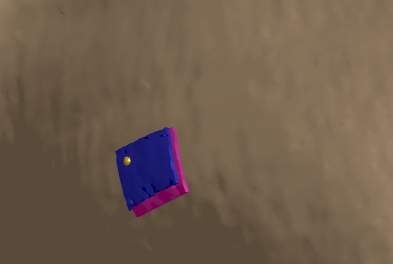
              However, as shown in the attached image, the result appears to be piercing perpendicularly into the skin.

              Do you know why this might be happening?

              I look forward to your response
              before projection.png
              after projection.png

              1 Reply Last reply
              0
              • brynB Offline
                brynB Offline
                bryn
                ZMT
                wrote on last edited by bryn
                #10
                • did you try to move/pre-align the "XY entity" (using Move tool)? If yes, please don't do that.
                • can you share the XY entity or run following script and share the output?
                import XCoreModeling as xcm
                
                # assumes you select the XY entity, then run the script
                xy_entity = xcm.GetActiveModel().SelectedEntities[0]
                p1, p2 = xcm.GetBoundingBox([xy_entity])
                print(f"p1={p1}, p2={p2}")
                
                1 Reply Last reply
                1
                • G Offline
                  G Offline
                  gotou
                  wrote on last edited by
                  #11

                  >did you try to move/pre-align the "XY entity" (using Move tool)? If yes, please don't do that.
                  I was able to properly attach it to the surface by using projection without the move tool.

                  can you share the XY entity or run following script and share the output?
                  This was output.

                  p1=205 179 1799 , p2=205 229 1894

                  Why doesn't it work correctly when using the move tool?

                  1 Reply Last reply
                  0
                  • brynB Offline
                    brynB Offline
                    bryn
                    ZMT
                    wrote on last edited by
                    #12

                    glad you managed :thumbs_up:

                    1 Reply Last reply
                    0
                    • G Offline
                      G Offline
                      gotou
                      wrote on last edited by gotou
                      #13

                      @bryn
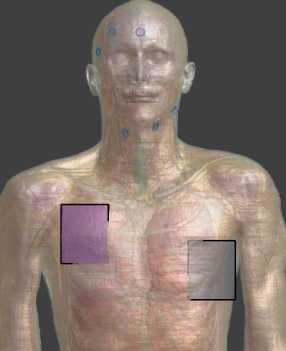
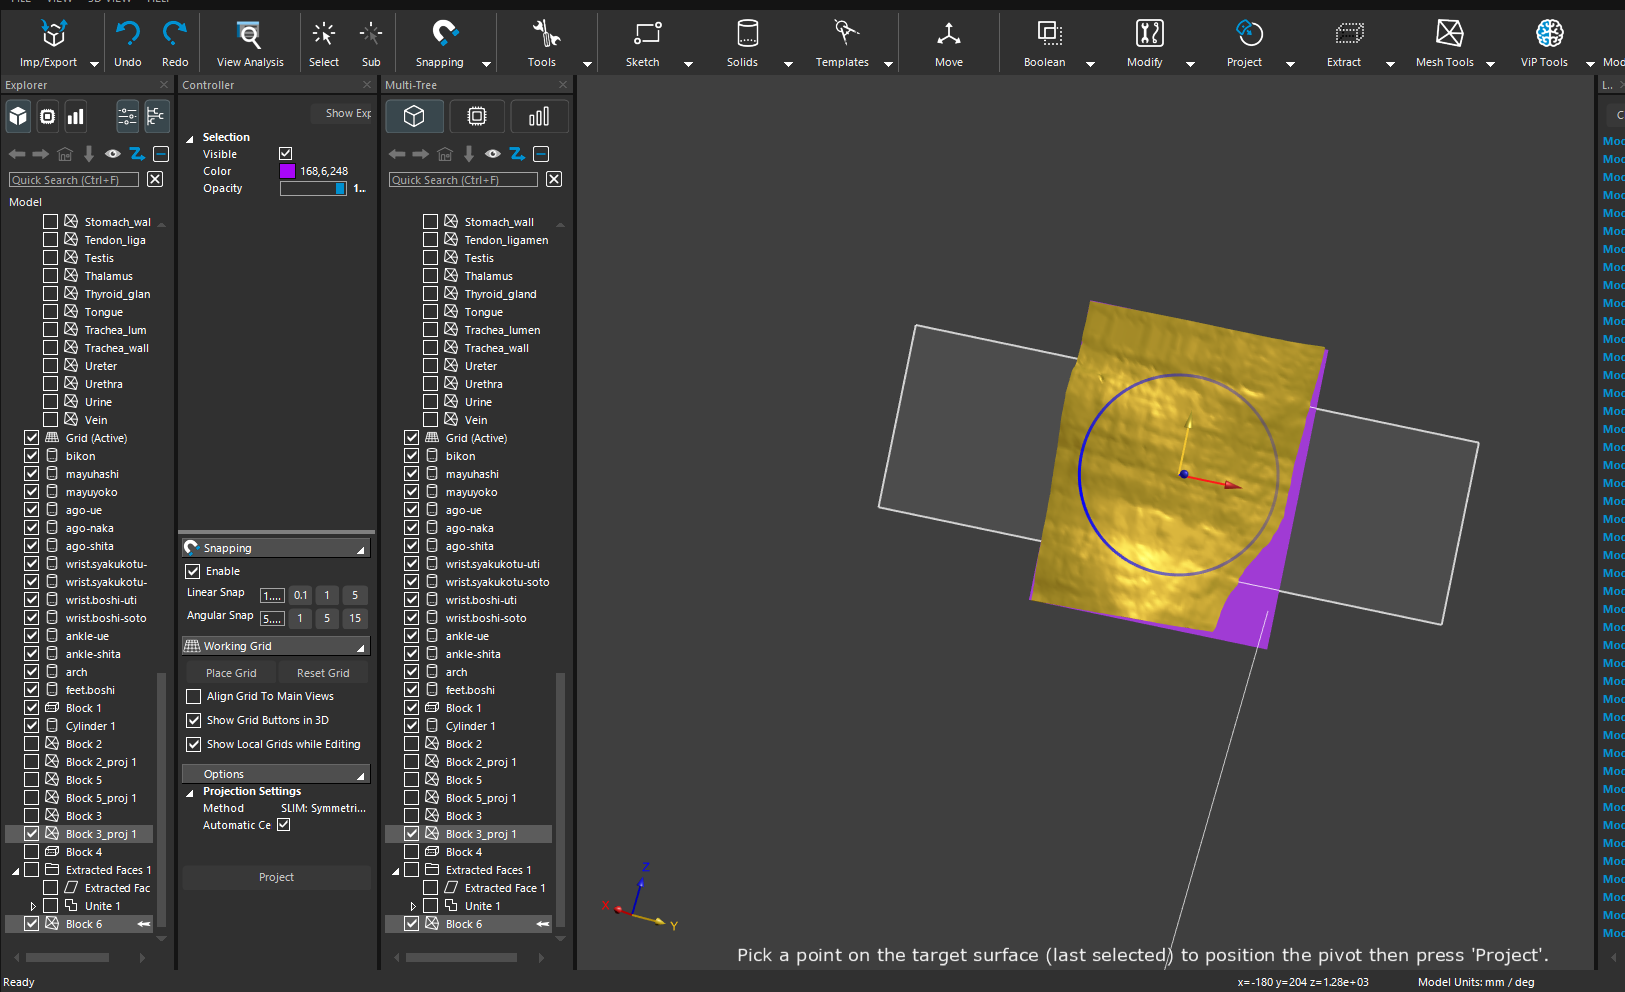
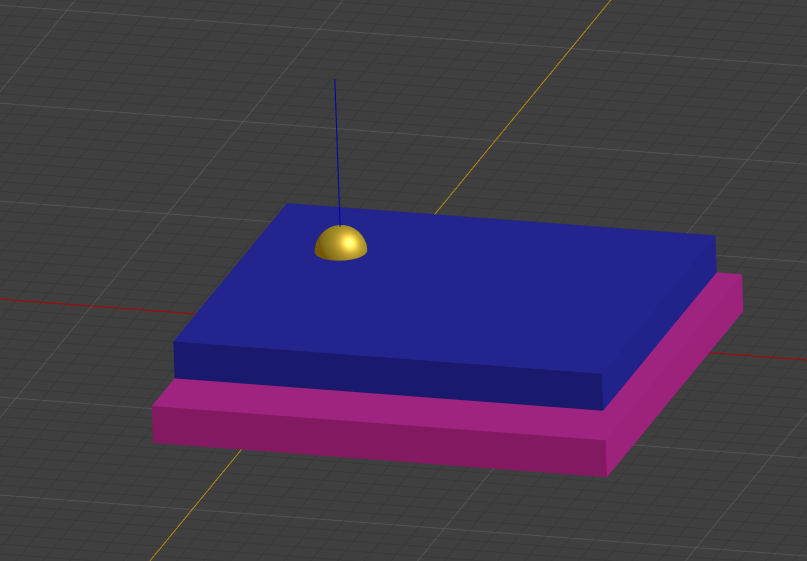
                      I figured out how to project a single object. However, how can I project a two-layer object onto the skin? The idea is that the first layer is gel, and the second layer is an electrode plate. I tried various methods, but I couldn't figure out how to do it in two layers. I tried projecting the gel onto the skin first and then placing an electrode plate the same size as the gel on top, but the projection was applied to both the front and back of the gel.
                      (Gel is yellow,electrode is purple)
                      スクリーンショット 2024-12-17 221340.png
                      スクリーンショット 2024-12-17 221807.png
                      スクリーンショット 2024-12-17 221716.png

                      1 Reply Last reply
                      1
                      • brynB Offline
                        brynB Offline
                        bryn
                        ZMT
                        wrote on last edited by
                        #14
                        • the entities (in the XY plane) should be one above the other
                        • select BOTH entities, and the skin
                        • project both at the same time (pick position, edit angle, etc.)
                        1 Reply Last reply
                        0
                        • brynB Offline
                          brynB Offline
                          bryn
                          ZMT
                          wrote on last edited by bryn
                          #15

                          image.png

                          with "automatic centering", the object will be partly inside the skin.
                          if you disable automatic centering, you can project all object above each other (and the skin)

                          image.png

                          05a7b607-a689-4121-a72b-ba811ac75e9e-image.png

                          1 Reply Last reply
                          1
                          • G Offline
                            G Offline
                            gotou
                            wrote on last edited by gotou
                            #16

                            @bryn @gc00 @halder
                            Thank you so much, You've been very helpful !

                            1 Reply Last reply
                            0
                            Reply
                            • Reply as topic
                            Log in to reply
                            • Oldest to Newest
                            • Newest to Oldest
                            • Most Votes


                            • Login

                            • Don't have an account? Register

                            • Login or register to search.
                            • First post
                              Last post
                            0
                            • Search